|
|
Documentation for Projecting a Microscopic Image |
GALLERY 2 |
Thanks to Eric Beggs for the images on this page, the lower left image on my EFH website home page, and the video of my presentation of this project on the Project #1 front page. |
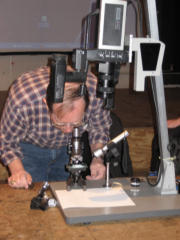
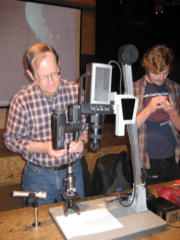
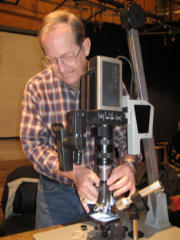
During the break before my presentation to the
ACTLab class, I ran the video and power cables
across the floor and taped them down for safety
purposes. I then assembled the equipment and
prefocused the microscope on the integrated circuit,
adjusted the flashlights in the microphone stand
adapters, then adjusted the camera and microscope
for projection on the screen. (See images below.)
|
The burned spot on the imaging tube of the camera
can be seen on the right-hand picture (below) in
the middle of the projected image. There was some
video noise visible, but for a 35-year old analog
camera, I was pleased with the image on such a
large screen. I disassembled the project during
the presentation. If I had to do it again, I would
have shown several areas of the integrated circuit chip.
|


