
This is a preliminary sketch that I did for the
freakshow canvas. Initially, I had hoped to build
some working "streetlights" to stretch
it between.
|

| Another sketch of the freakshow canvas that I also
added a touch of color to help me visualize the painting
better. |
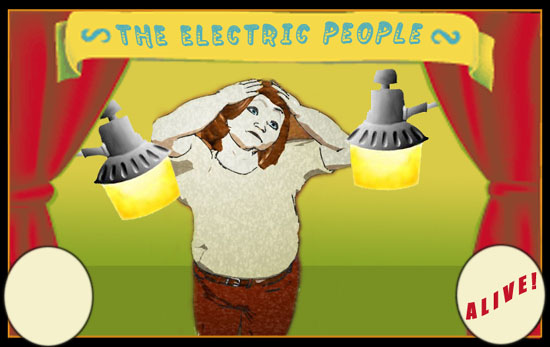
| Here is a composite that I put together in photoshop
from bits and pieces of other images that I found online.
It is really hard for me to paint without having a
detailed guide... |
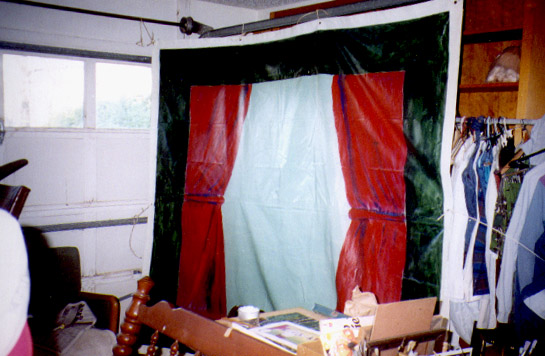
| It was cost prohibitive to buy regular canvas,
stretch it, then gromit it for hanging, so I got
an old canvas tarp of approx. my intended size, painted
it with a base coat of white house paint and then
hung it up in my garage. I used house paint for most
of the large bits and acrylic for the detail parts. |
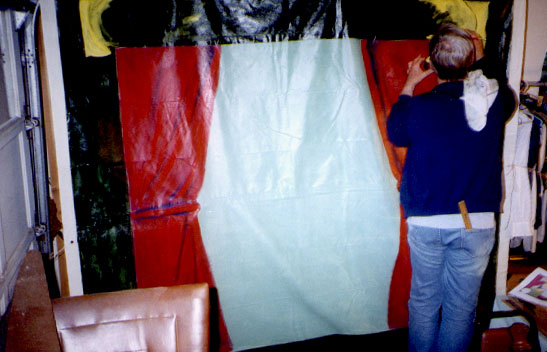
| This is me starting the banner part at the
top. It took me about 10 hours to get to this
point. |
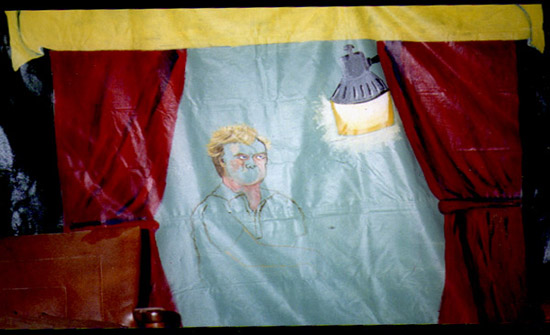
| I had decided that the figure from my composite
wasn't freaked out enough looking, so I found
a picture of an angry golfer in one of my
roommate's sports magazines & used it as
a model instead. I sketched the image on
canvas with a sharpie, then went back over
those
lines with paint. |
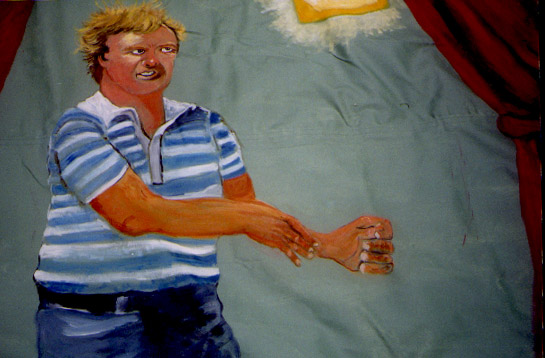
| The completed SLI figure. He alone took
me about 6 hours over a couple of days.
Notice the gargantuan left hand - gigantism
in the hands and feet is often a side effect
of SLI experiences. |
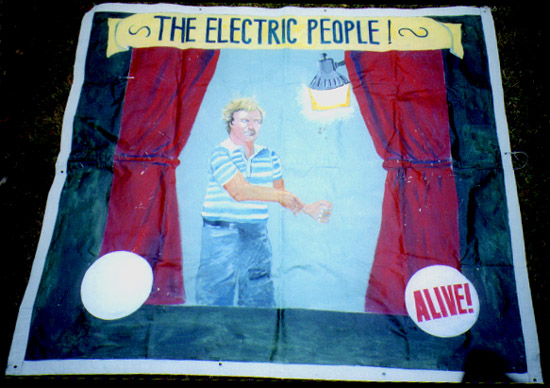
| A really bad photo of the completed
canvas. I coudn't think of anything to
put into the left bottom circle, so I
didn't put anything. I was pretty proud
of it - it looks remarkably like my original
concept.
It only took about 26 hours all together. |

| A pretty lame sketch
of my science fair project display
board. Again, I had initially hoped
to set up something that had pretty
tall, working lights that would maybe
flicker on and off or something. Also,
since I was coming at this from my
orignal of having a museum in tent,
I wanted the board to be as baroque
looking as possible with gold fring
and tassles and ornate gold frames
for all of the data. |

| This was a pretty high
tech project. I used only the most
modern equipment for assembling the
display board. It was made from masonite
with a wood
support
on the
back.
The masonite
was really hard and difficult to
work with. I wish that I had just
used plywood. |

| Drilling holes into the masonite
to attach the wood supports. This
really sucked the second time I
did it. After completely assembling
it, I realed that the damn thing
was too big to fit
in
my
truck So I disassembled it, cut
about 2.5 feet off of it and then
put it all back together. It blew. |
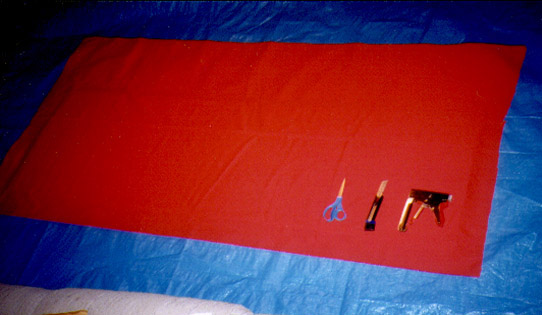
| I opted to cover the three
folding pieces of the display
with red cloth rather than paint.
Another mistake. It was a big
pain in the ass. Here I have
all of my instruments set out.
I had everything spread out on
a plastic sheet in my living
room so that I wouldn't get the
cloth dirty working outside (plus
it was cold as ass outside) and
I felt like I was about to perform
some kind of ritual dismemberment. |

| I found a bunch of frames
in our attic and I bought a
few more at a thrift store.
I had initially hoped to have
all of the frames look the
same with lots of gaudy detail,
but it was not to be. I spray
painted all of them gold so
that they would look at least
a little consistant |

| Arranging the frames on
the completely assembled
display board to see which
frame would hold which part
of the display. |

| This is me putting the
finishing touches on the
"darkness meter" designed
to record the instances
or opperation osscillation
of the street light selected
for the experiment. It
wound up being considterably
larger than I had hoped. |
|
|