ACTLAB site
BACK to Sarah's Actlab Page
BACK to the Nightmare Quilt Main Page
BACK to Project Two: Nightmare Quilt Components
the nightmare quiltBACK to Sarah's Actlab Page
BACK to the Nightmare Quilt Main Page
BACK to Project Two: Nightmare Quilt Components
project three: fabrication
(sarah cornwell, actlab 12.2008)
I
went about making the nightmare quilt in the same way that I write
fiction, which is the same way that I dream: intuitively, feeling my
way along a wall in the dark. No directions, no patterns, no
knowledge about quilting other than the basics of sewing and plenty of
experience with collage. I started with a blank center square, on
which I planned to depict my final nightmare once I slept under the
quilt. I made four panels of nightmares and four large artists'
nightmare renderings into a rectangle. I sewed neat interior
seams, in which the stitches do not show, but I glued together layers
of cloth with rough edges under the artworks; I wanted a juxtaposition
of neat and messy, soft and rough, to add a dreamlike dimension to the
quilt's fabrication. I pinned and then sewed each new section,
working outward, and figured out somewhere in the middle that I wanted
a skewed square in the center of a larger square rather than square
elements with parallel lines. At the corners, I devised
fan-shaped overlaps with extra blank squares. I slept under the
quilt top at this stage, and since I had no nightmares, left the center
dark.
I sewed purple and black fabric together to make a flat backing sheet, and then laid this beneath a length of batting. I spread the quilt top over these layers and pinned from the center, hoping the layers would lay flat. Through all three layers, I hand-quilted a spiral in the center square in thick blue yarn, and then quilted lines along various color boundaries throughout the quilt. I left an edging allowance on the backing so I could fold it over the edges of the batting and under the quilt top to make soft, seamless edges, and I quilted these seams by machine.
Keep in mind that I have not sewed in twelve years.
Here are pictures of the fabrication process:
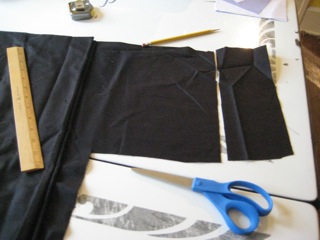 cutting and measuring |
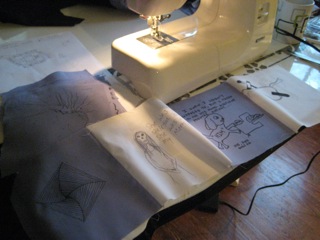 sewing together interior dream panels |
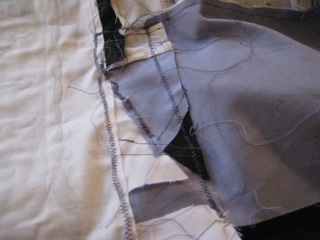 scrap panel (from the back) |
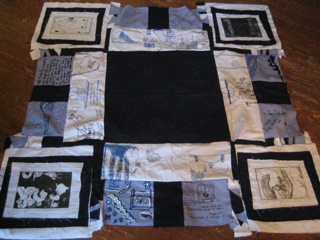 completed interior section of quilt top |
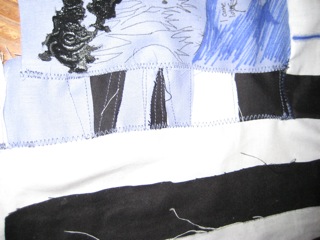 scrap detail |
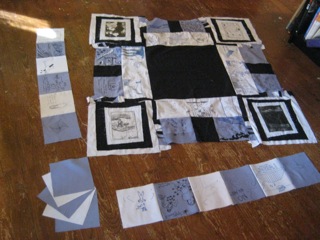 figuring out a pattern |
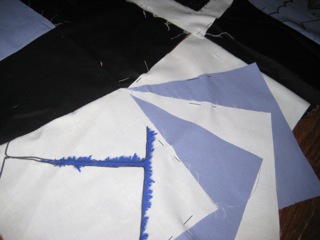 pinned pieces |
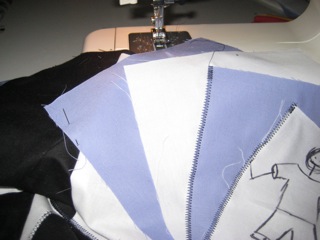 sewing pinned quilt top |
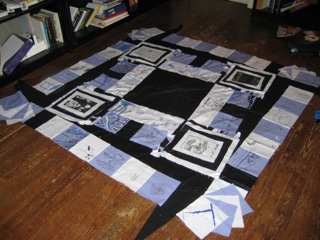 completed quilt top, without edging |
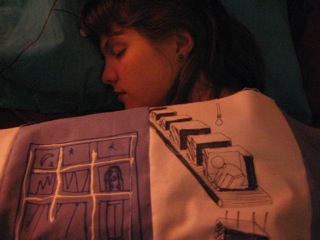 pretending to sleep under quilt top |
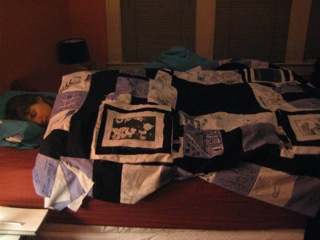 pretending to sleep under quilt top wide shot |
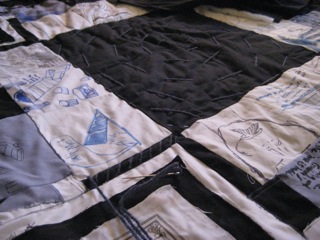 the actual yarn quilting |
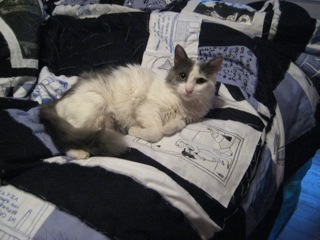 cat hair application |
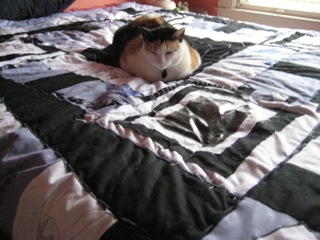 large cat hair application |
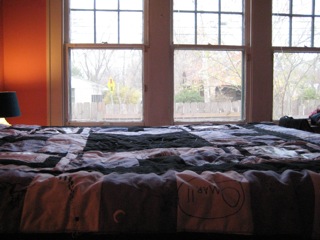 finished quilt |