| HOME |
cameras |
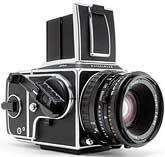
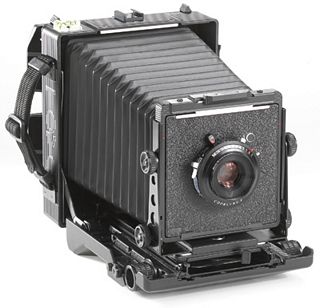
This semester I shot with two different cameras: a Hasselblad 503cm, and a Toyo 4x5 field camera. I wanted to print large, so I needed to shoot with cameras that make larger negatives. The Hasselblad makes a 6cm x6cm negative and the Toyo makes a 4 x 5 inch negative. |
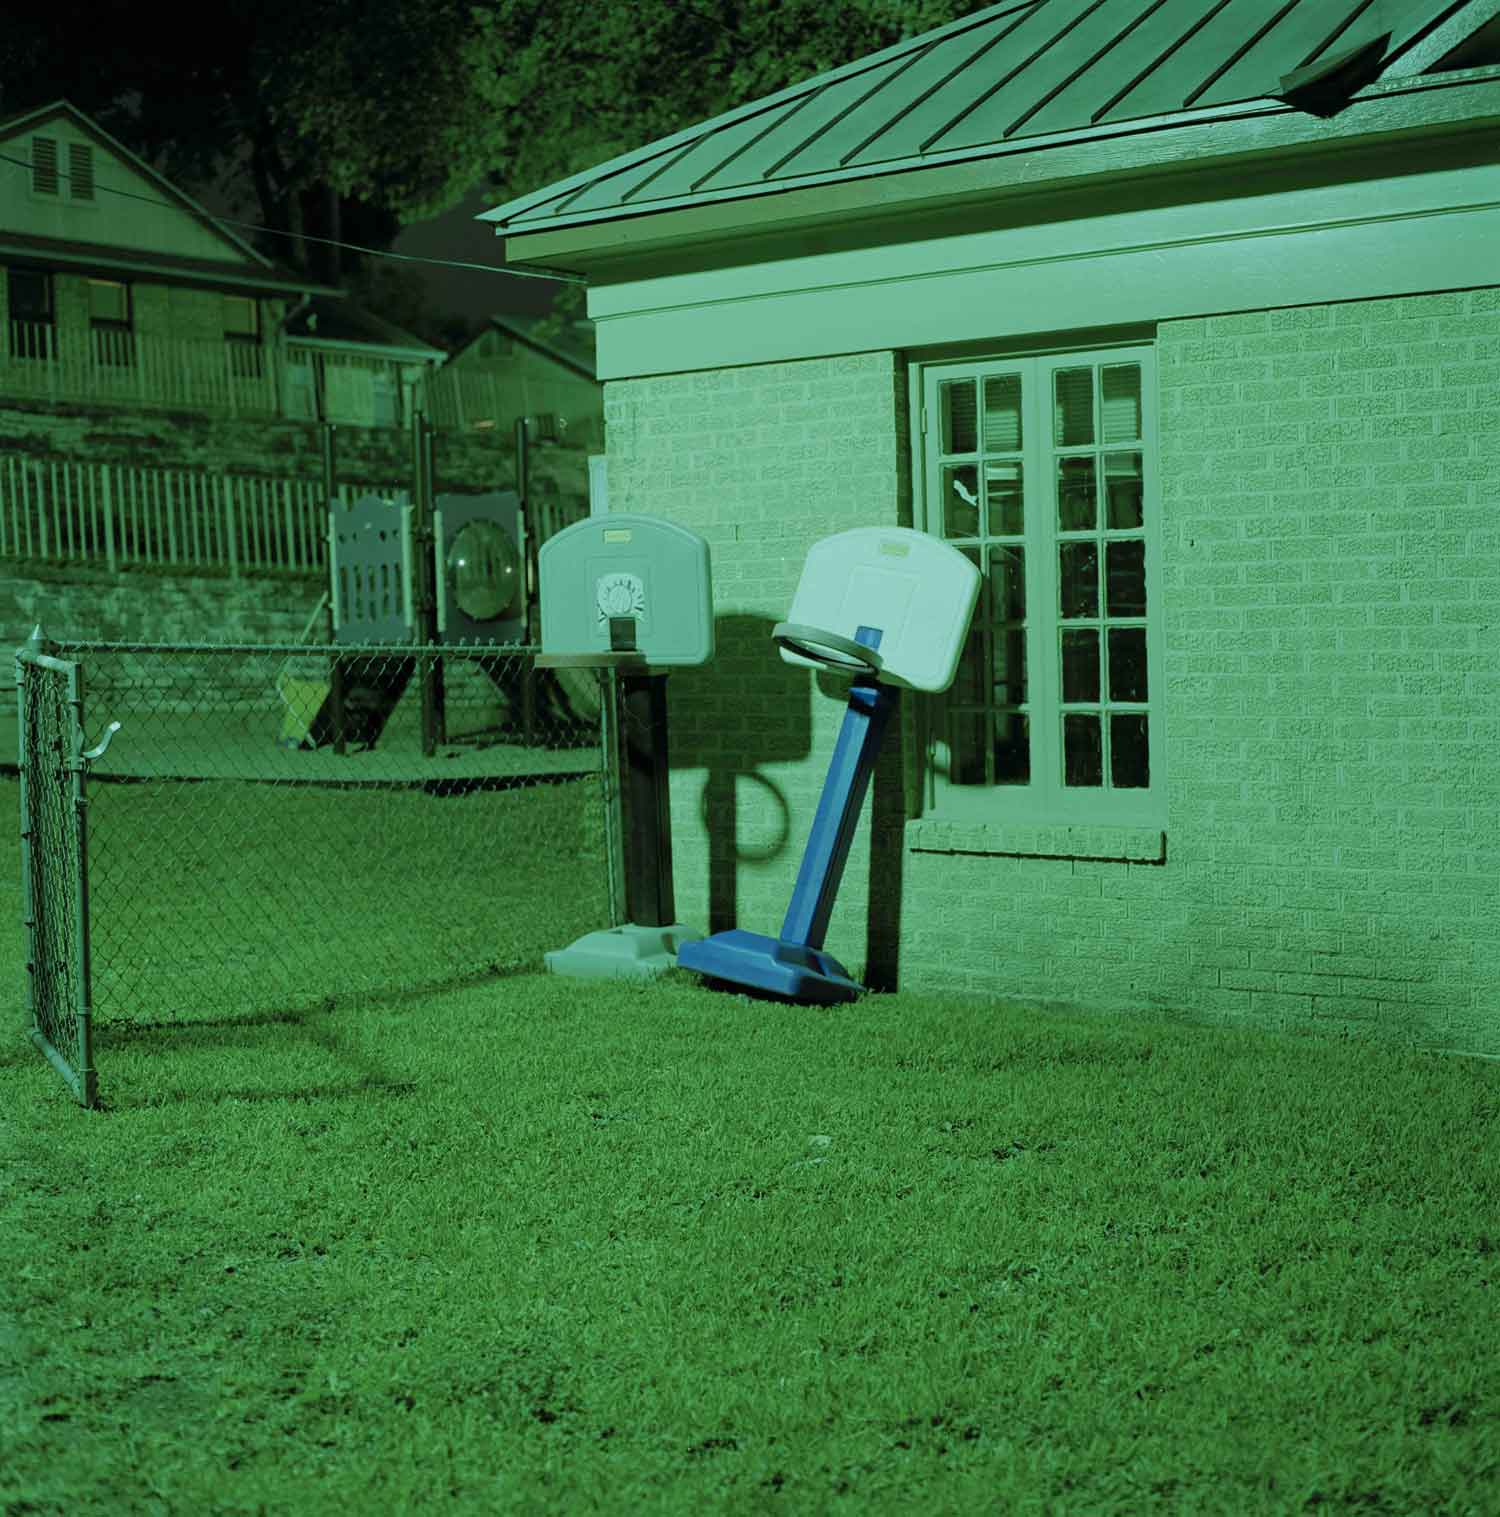
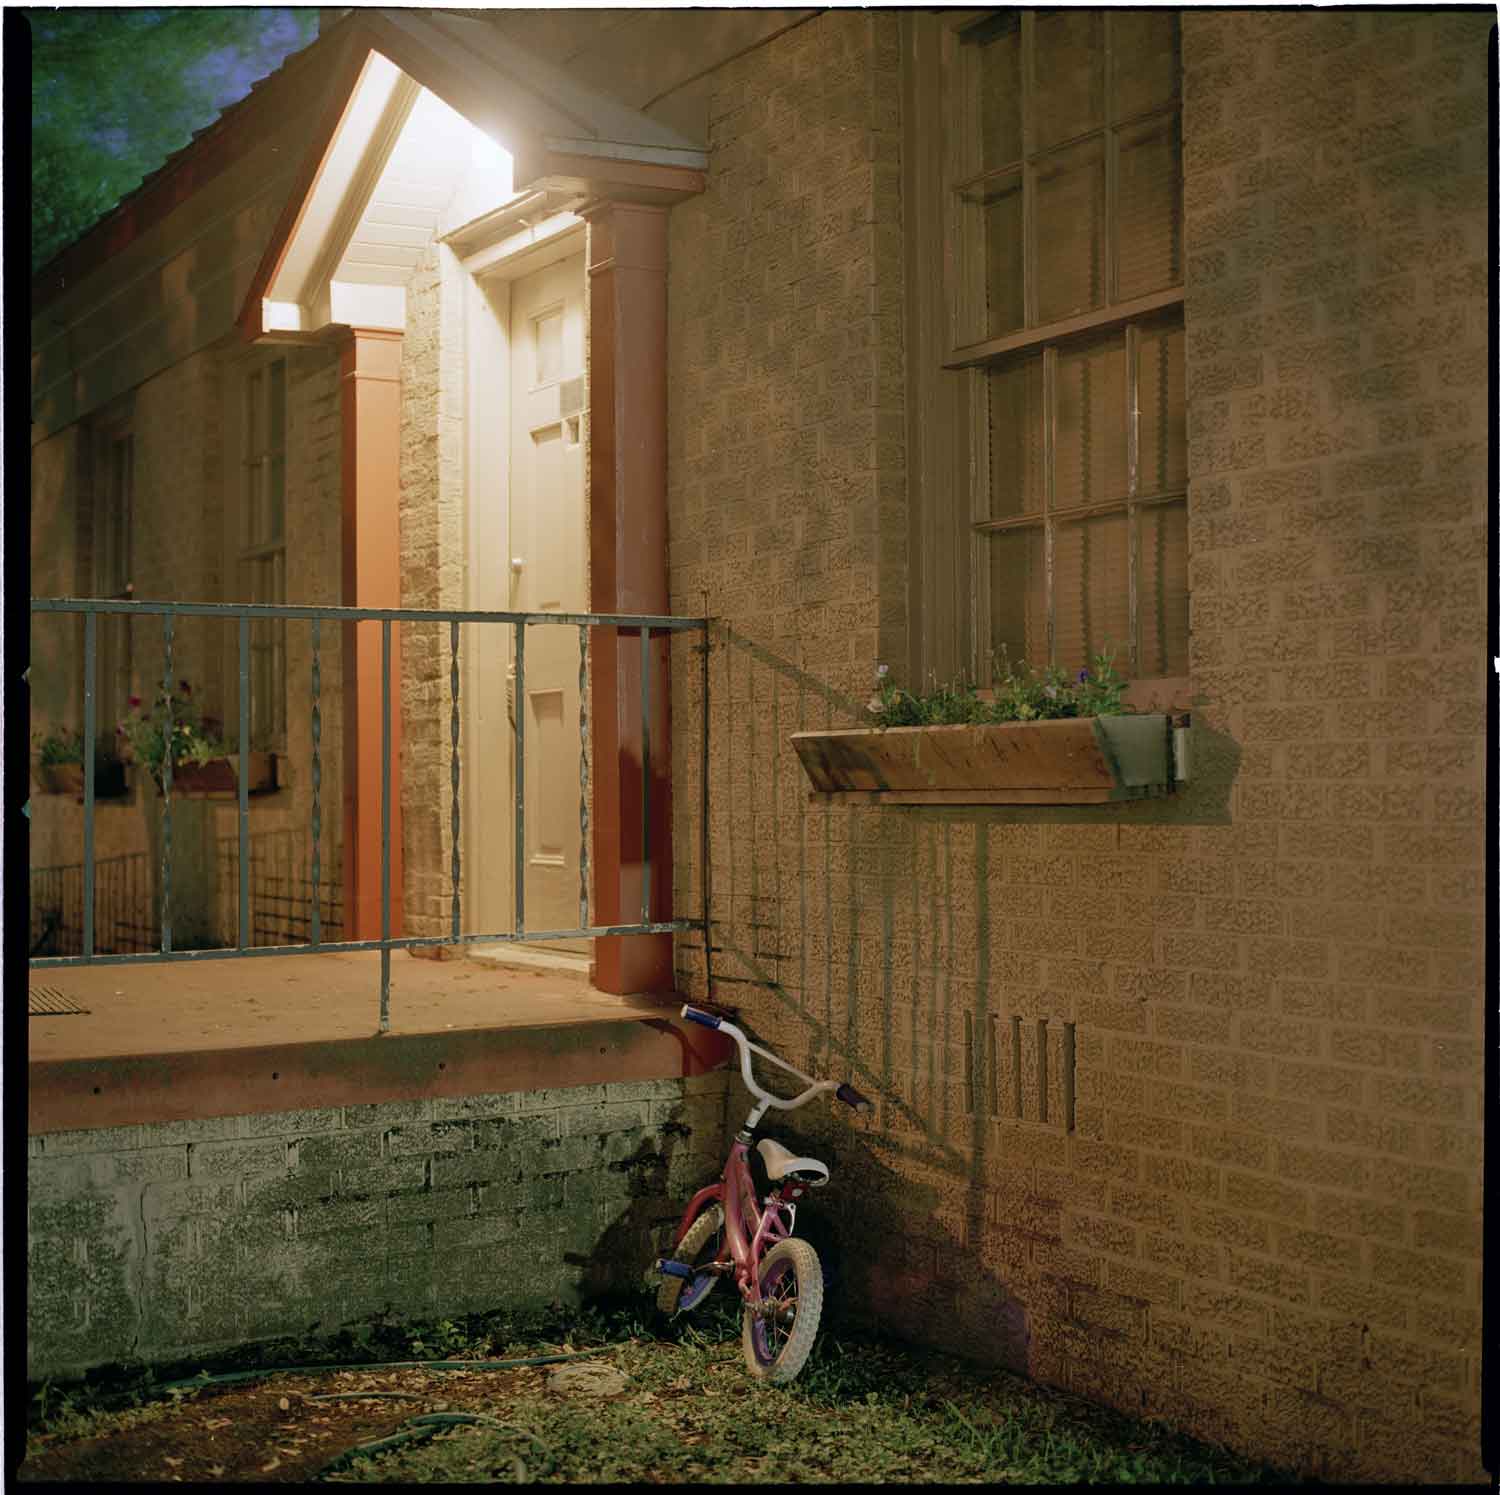
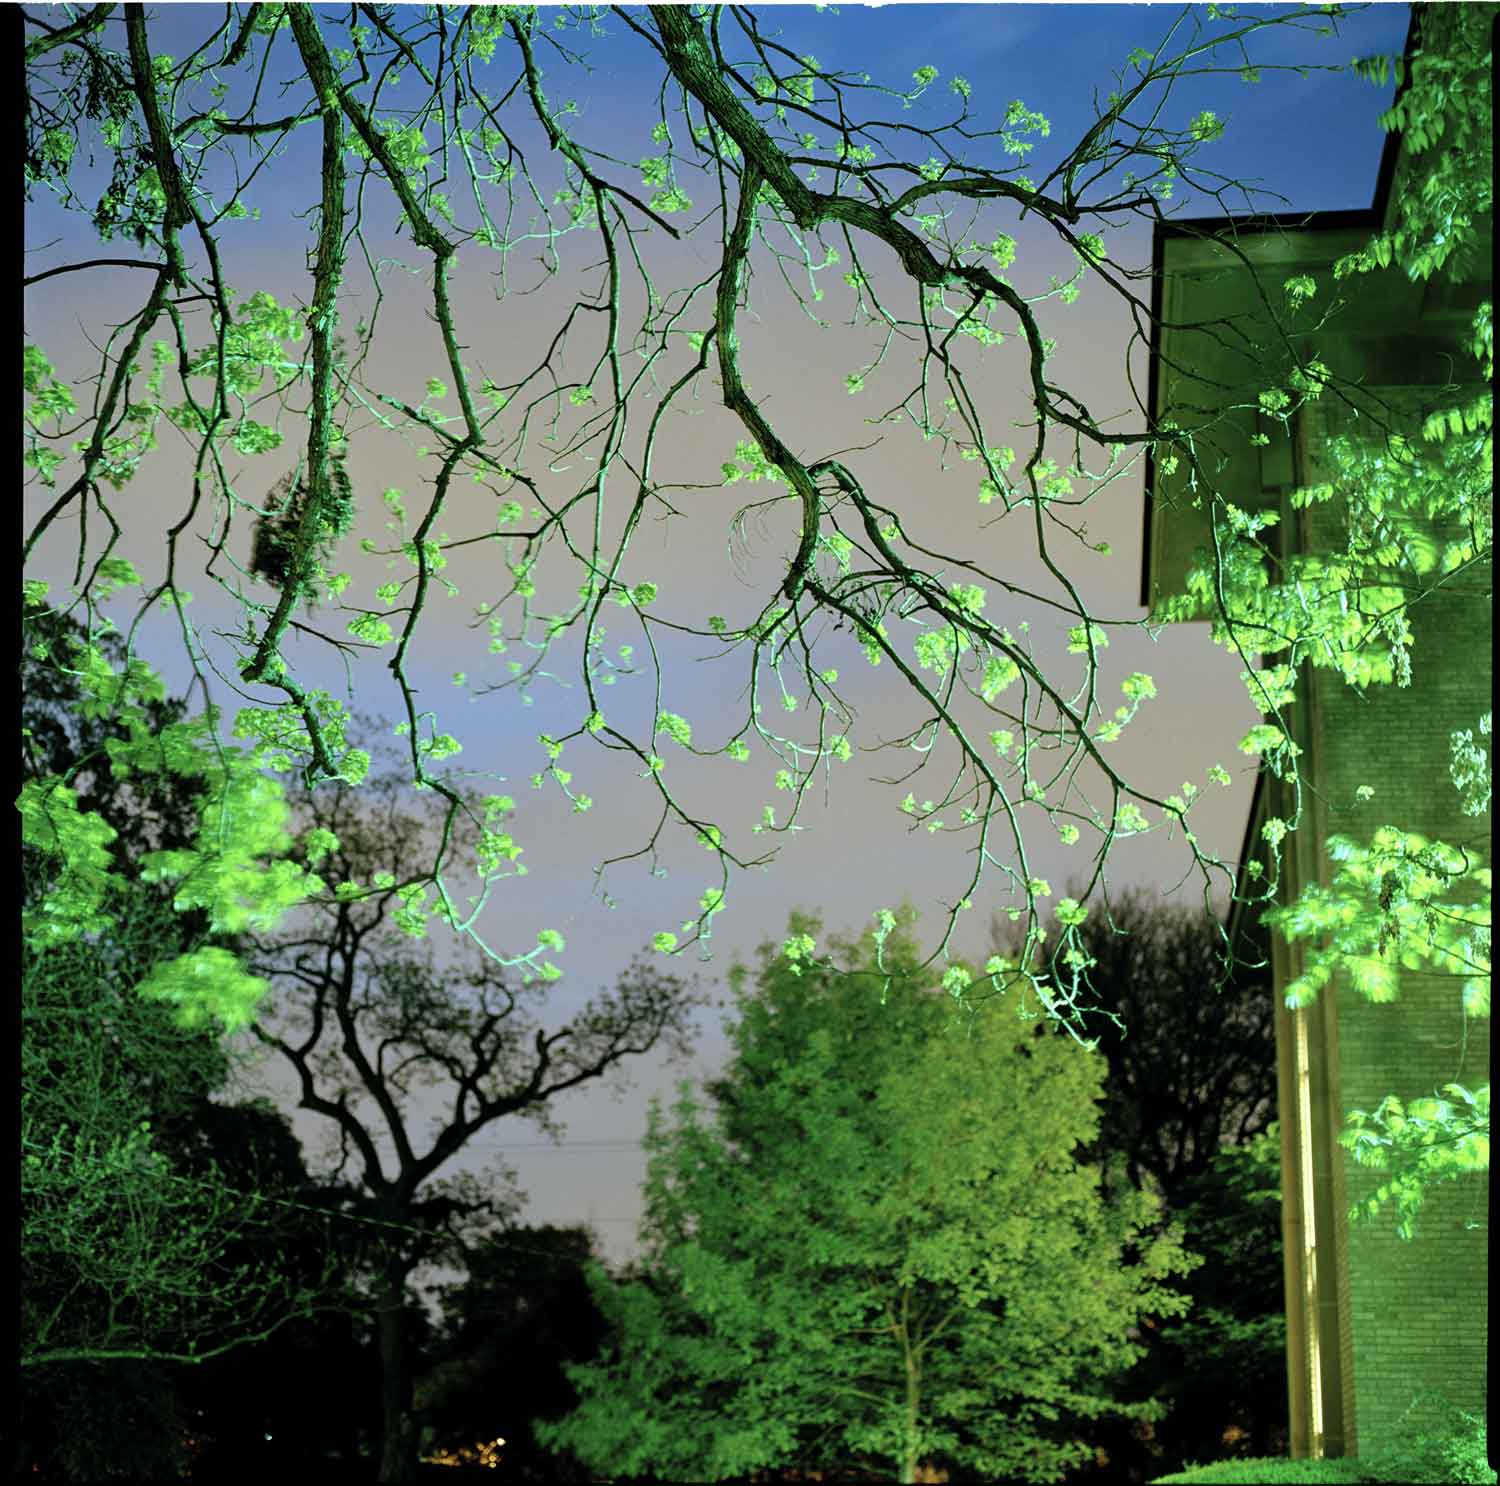
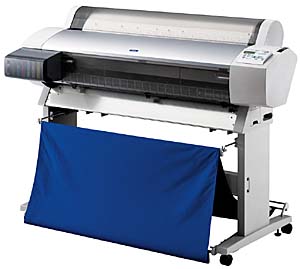
scanning To convert the negative to a digital file, I used an Imacon drum scanner. The Imacon website offers a great visual explanation of how drum scanners work. The video is only a minute long, and it's worth looking at if you are interested in how film is converted to digital. The video automatically pops up in a small window, which Firefox will prevent from displaying. On the top of the webpage, you will see a note that reads, "Firefox prevented this site from opening a popup window. Click here for more options..." Click on the note and select "show http://www...." It will open and you 'll be learnin' in no time! http://www.imacon.dk/sw3032.asp Just in case you wanted to know, drum scanners range from $10,000-$20,000 msrp!! The one I used was $15,000. In order to print large, you must scan at the highest possible resolution allowed and at the highest color bit depth. Before the scan, you can create a preview of the negative as a positive and make initial tonal and color adjustments to pull the most possible detail out of the negative. You can also select your film type or change it if another film type looks better. So basically, you can tell the scanner how to expose your film, which gives you more control over the negative than you would have in a wet darkroom. Here are some jpegs of my initial scans from my second and final presentations. for full resolution, right-click and select "save link as" editing With the scan is complete, the next step is Photoshop. Some images were eaiser to edit than others, and in the case of my second presentation, I had to completely start over. I shot on daylight-balanced film, so non-tungsten light sources produced strong green color casts. The image of the side of the house with the children's basketball goals was seriously the "challange of the semester." I had people in the photolab telling me that I was crazy for attempting to color correct it. By the time I got it to a point where I was satisfied, (it took two tries) I knew what they were talking about. printing Once I had the images the way I wanted them to look on screen, it was time to select part of the image to see how it looked printed large. With each of the three images I printed, I made various test strips and additional adjustments to get the images to look the way I wanted them to printed out. I used an Epson 9600 roll printer, and each final print took about an hour and a half to finish. It takes about a week for the ink to completely dry, so I had to be extremely careful storing and handling them.
|
