
COURSES | CURRICULA | FACULTY | INTERDISCIPLINARY COMMITTEE
LISTSERV | PROGRAM | REPRESENTATION | SCREENINGS | TUTORIALS
formZ
applying texture maps
Set up the FORM-Z work environment
1. close any palettes that you will not be using (animation, etc.)
2. set heights to "graphic/keyed"
3. deselect the ("a") absolute box in the prompts palette
4. save the file in a folder you have created
**a note on shortcut key strokes: using keystrokes with our left hand will save you a lot of time and frustration
esc -- use it to cancel an operation or regain focus in the work window
cmd (the apple key) + s -- save, save, save, always save in FORM-Z (in tends to freeze up)
cmd + tab -- deselect all
cmd + 1, cmd + 2, ... -- change views in the work window; 1 is 30-60 axonometric, 2 is 45-45 axonometric, and so on
cmd + w -- wireframe display
cmd + k -- renderzone display and many, many more...
Create an exploded cube (6 rectangles)
1. draw the first rectangle
select "rectangle" and "2-d surface" from the tools palette

click a point on the grid in the work window -- this is the first corner of the rectangle (see the prompts palette for information about the object you are drawing)
to complete the rectangle, you may either drag the opposite corner with the mouse and click, or you can type in the coordinates of the opposite corner in the prompts palette
2. create 5 more rectangles with one of these two methods
you may choose to redraw the other planes, but first you must change the axis of your active work plane from "xy" to "yz" and then "xz"
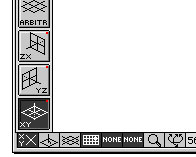
you may also perform a copy and rotate operation on the original rectangle -- again, select the proper work plane, and then select "rotate" and "one copy" from the tools palette -- in the work window, 1) click on the rectangle, 2) press enter to set the base of the rotation, and 3) type in the amount of rotation (90 degrees, in this case) and press enter

3. select "move" and "self", and move the 6 rectangles to your desired position (aligned as an exploded cube) -- using the various orthographic views (top, right side, back, etc.) will make this easier
Create and position lights

in the "options" menu select "lights..."
click "new" and name the light set "type" to "distant" and "intensity" to 50%
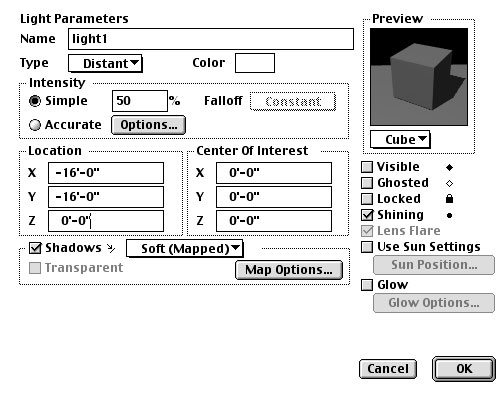
go back to the main "lights..." dialog box -- click "copy" and make 5 more lights
also, click the small diamond shape located in the row labeled "Light Name" -- this will make your lights visible in the work environment
move the lights by one of two methods
in the work window, select "move" and "self" and then click on the light and drag it to the desired position (lights should be facing each side of the cube) -- use the top, right side, and back views to make this easier
you may also double click on the specific light in the "lights" palette and type in the desired position coordinates -- you can make any other adjustments to the lights in this box, as well
Apply texture maps
1. create new surface styles using your images
select "surface styles" from the options menu and click "new"
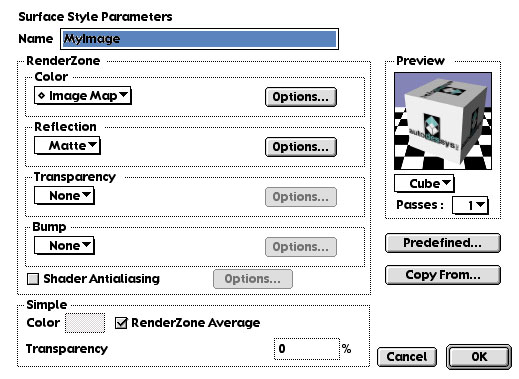
name the style to correspond with the image you will be using
under the "color" drop-down menu, select "image map" and click the "options" button -- then click the ³load² button and select your image from the appropriate folder (you should have your image files in the same folder where you saved your FORM-Z file)
click "ok" until you are back at the main "surface styles" option dialog box -- create 5 more new styles for the rest of your images
2. now, apply the texture maps to your images
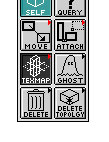
select "texture map" from the tools palette and then click on one of the rectangular planes in the work window
the "texture map controls" dialog box opens up -- scary, isn¹t it?
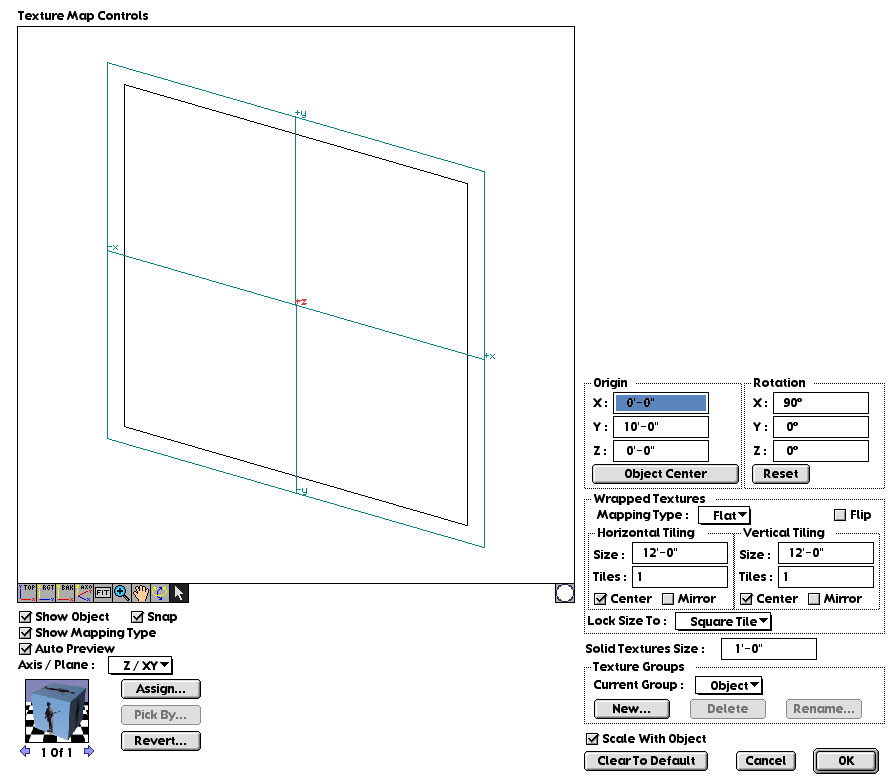
first, click the "assign" button and select the appropriate style for this rectangle
make sure that the texture map (delineated by a light teal line) and the rectangular plane (black line) are located in the same plane -- if they aren¹t, make the appropriate adjustments
**verify that these settings are like so:
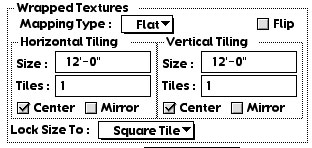
note: the size may be different depending on the dimensions of your rectangular planes
click "ok" ok, and the image is mapped to one side of your exploded cube
Other FORM-Z craziness...
extrude the rectangular planes for a "stretched-out" look -- that¹s nuts!
apply meshes and deform your images/planes with the "disturbance" and "m-forms" tools -- whoa!
use the "nurbz" tool to generate "other-worldly" shapes and images!
create other solids with which you can cut the cube ("trim/split" or "difference" tools)
use the "union" tool to combine objects