
COURSES | CURRICULA | FACULTY | INTERDISCIPLINARY COMMITTEE
LISTSERV | PROGRAM | REPRESENTATION | SCREENINGS | TUTORIALS
formZ
rendering techniques
Before you move on to the process of creating renderings it is a good idea to set up views and then save a backup copy of your file.Ê Redundancy is a good thing in this case!
Also, go into the Windows Menu and turn off all of the Axes and grids.Ê These will show up in your renderings if you leave them on.
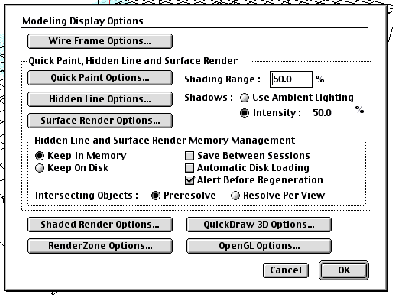
Under the Display Menu, the Display Options dialog box will give you more specific settings for the rendering output.
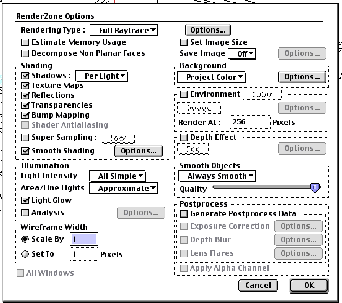
Form Z will usually default to average settings that will render to a satisfactory output.Ê But of course you are given many options to modify these settings.
Be careful to balance what is really necessary to achieve a reasonable output and the power of your computers processor.Ê Also, some intense models may require up to 6 hours to render.Ê Donât start one of these at 5am the day of a review!
Of note, the Super Sampling setting can be effective as a type of Anti-Aliasing.Ê This adds the Îfuzzy edgesâ to objects that real objects seem to have as well.
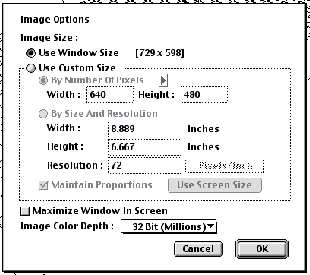
At the bottom of the Display menu is the Image options dialog box.Ê Within this you can set the Image size and resolution.Ê If you know the intentions of your method of representation (print or web media) you can be effective with this.
Remember that the higher the resolution you set, the harder the computer will have processing.Ê
Ê
Image Representation Trick:
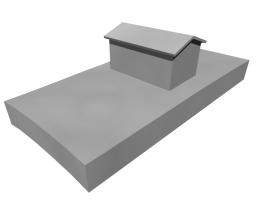
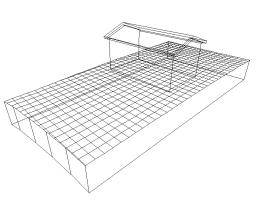
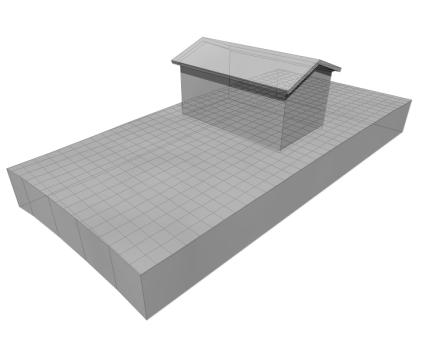
A very effective way to present a conceptual model is to merge a rendering or hidden line image with a wire frame.Ê This will let you subtly see the guts, or beneath the surface.
Make image files of the same view, and take them into Photoshop.Ê Copy the wire frame image and paste it on top of the rendered or hidden wire image.Ê Then set the wire frame at 20% opacity.
Example:
+
=
Animation:
Step 1:
Set and save a series of views.Ê At least 3 views must be saved.
In the sequence that you want to move, check each view to activate it.
In the View Menu you will find the Animation from Keyframes Option.
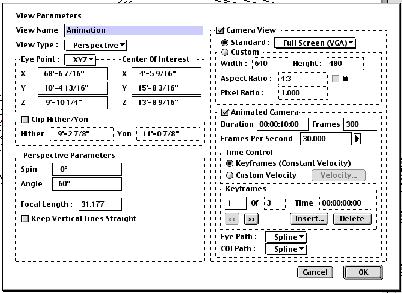
Within this you are given multiple options for optimizing the path and actions of your animation.Ê Note the Eye Path option.Ê It defaults to spline.Ê This will create a smooth curve between your viewpoints.
When you click OK a new view will be created in the Views Palette.Ê Notice also that the Animation Palette is indicating content.Ê Keyframes are indicated by a blue marker.Ê These can be moved to change the rate at which you pass a particular viewpoint.
While in a view within the Animation, select the Generate Animation Dialog box within the Display Menu.Ê
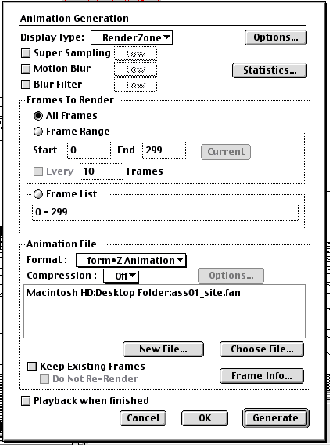
The Animation file can be saved as A Form-Z Animation, or a Quick Time.Ê Base your decisions about file type or applying a compression algorithm on how much more editing you want to do to the animation.Ê After Effects, etc?
By Selecting Playback when Finished you can watch the Animation develop as it moves from frame to frame.
You can also stop a rendering halfway through and return to it later to finish.