| Home |
| System Requirements |
| Tutorial |
| Contact |
|
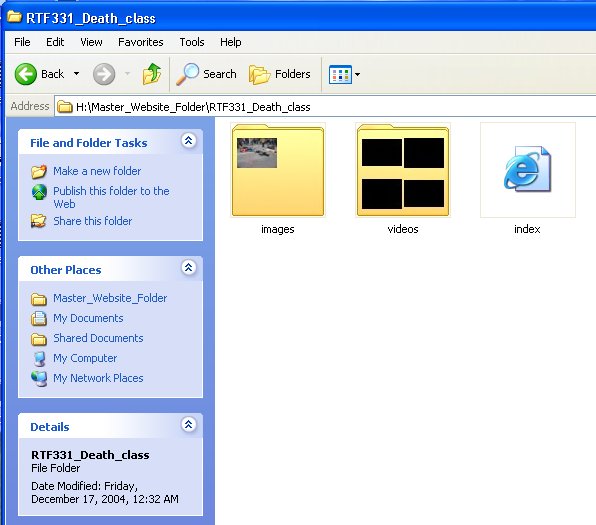
HTML Tutorial There are two basic components of a website. First the file structure, second the interface. We will begin by looking at how to setup your file system for your website. File Structure For a beginner
saving all the files you wish to use for you website in one
folder works
best. This consists of gathering all your text, image, video
files and copying them into a singe folder. (see fig 1.) Once
you have selected your files to use you can begin
construction of your your website. |
 |
|
Interface (i.e. web page construction) In order to construct your website you will need an HTML editor. For beginners, Macromedia Dreamweaver is a wonderful solution. Dreamweaver is available in the lab, however if you are working from home and do not have access to Dreamweaver a viable solution is Mozilla Suite. Mozilla does not have all the nice features of Dreamweaver, however in a bind, it is a viable solution. Ok, so here are a couple tips to start! I was going to write a Dreamweaver tutorial, but then did a search using goolge and found that many Dreamweaver tutorials already exsist. So do a search and find one that seems intuitive to your style. Second, all movies you use must be in a quicktime streaming format. You may include other formats on your website, such as windows media, divx or Real, but quicktime is required. This is because quicktime streaming can be viewed on virtually all operating systems. Also before you submit your website, make sure you check out the formating of it on a couple different computers and web broswers, such as Mac vs. PC, and Internet Explorer vs. FireFox. |
|
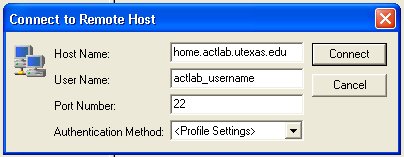
Uploading your website Once you have finsihed your website you can upload your files to the ACTlab server. To do this you can use Fugu(Apple) or SSH(PC). Both require the same information to use: host name: home.actlab.us username: your actlab username password: your actlab password
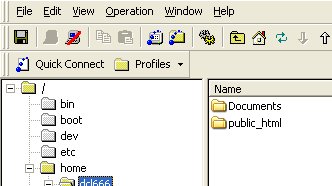
Once you have logged in you, create a folder called "public_html" by right clicking on the right side of the window and choose "new folder", this is the folder which you will place your website in.
To view your website once uploaded in the "public_html" folder type the following address info your web browser: http://www.actlab.us/~yourusername If you have questions come by office hours or email us. |
|
Creating your webpage Interface (i.e. web page construction) In order to construct your website you will need an HTML editor. For beginners, Macromedia Dreamweaver is a wonderful solution. Dreamweaver is available in the lab, however if you are working from home and do not have access to Dreamweaver a viable solution is Mozilla Suite. Mozilla does not have all the nice features of Dreamweaver, however in a bind, it is a viable solution. Once you open Dreamweaver you will need to familiarize yourself with the tools and layout. The two tool "windows" you will use most are "insert" and "properties". "Insert" allows you to insert text, images, frames, layers, tables and many other useful things. "Properties" will show you information about your document, for example if you insert text, the properties of the text will show up, such as font, alignment, size and color. Ok lets get started. first you will open up a new document by going to "file>new>basic>html" (see fig 2.) |
|||||||||||||||||
 (fig
2.) (fig
2.) |
|||||||||||||||||
Once you have a blank document you can begin construction. There are two ways to structure your layout: Tables and Layers. Both have their plus's and minus's. Once you get super comfortable with Dreamweaver you can experiment with using both at the same time. Tables: Tables work much like an excel spreadsheet, however you can resize and insert all types of information. To insert a table you go to "insert>table", you can then chose how many rows and columns you wish to have. For example I will construct a 2X2 table. (fig. 3) This table can be then be manipulated to form a more usable shape Once you have shaped your Table you can insert another table to make other area's within your table such as a navigation bar or space for content.
Once you have finished formatting your page you can then begin adding content by using the insert feature.
|